|
This article applies to the following Google Nest thermostat models in the US and Canada: |
|
|
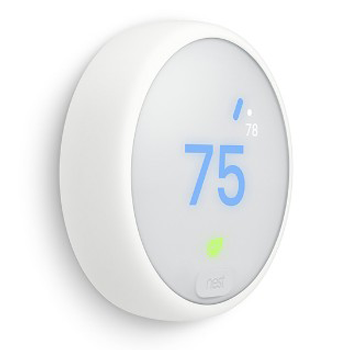
Nest Thermostat E |
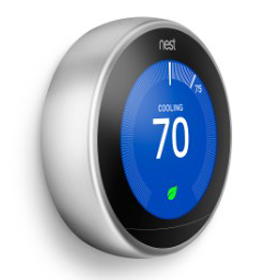
Nest Learning Thermostat |
Overcurrent help codes that begin with the letter E are typically caused by miswiring the thermostat during installation, or a worn part on the system’s control board which requires service by a professional.
Nest thermostats can help detect and diagnose issues with your system. When your thermostat shows you an overcurrent help code, it’s because it detected multiple power spikes in a very short time. You may not have noticed anything was wrong with your system before because there was no way your old thermostat could let you know.
Here are steps to help fix thermostat help codes that begin with E, such as:
E52, E53, E54, E55, E56, E57, E58, E102, E103, E104, E105, E106, E107, E108, E182, E183, E184, E188
Common causes of E codes
Nest thermostat help codes that begin with the letter E are typically caused by miswiring the thermostat during installation, they can also be caused by a worn part on the system’s control board which will require service by a professional.
If there's an overcurrent or “E” code, the electrical current on one or more wires connected to your Nest thermostat has spiked multiple times. Nest thermostats have an internal breaker to help prevent damage, and there will appear an overcurrent code if the breaker has been tripped 10 times or more.
An overcurrent help code is likely caused by a recurring problem and won’t go away by itself. Here are some of the most common causes:
- There is a wire in the wrong Nest thermostat connector.
- There is more than one wire in a single Nest thermostat connector.
- There is a dehumidifier or humidifier connected to your system.
- A relay or transformer on your system’s control board is worn or has failed.
- There were recent issues or upgrades made to your home’s electrical system.
- There were recent repairs or service done to your system.
Troubleshoot an E code
1. Restart your thermostat
This method is only recommended if your thermostat is stuck or frozen, and you can’t reach the menu to restart your thermostat.
Important: Manually restarting your thermostat is similar to turning off a computer instead of shutting it down, so your thermostat could lose some unsaved information.
To manually restart your Nest thermostat:
Nest Thermostat E and 3rd gen Nest Learning Thermostat
- Press the ring on your thermostat and hold it down until the screen turns off (about 10 seconds). Then, let go of the ring. The Google or Nest logo will appear when it begins to start up. The screen will turn on as it finishes.
2nd gen Nest Learning Thermostat
- Press the ring on your thermostat and hold it down until the screen turns off (about 10 seconds). Then, let go of the ring.
- Press and release the ring to turn it back on and complete the restart process. The Nest logo will appear when it begins to start up. The screen will turn on as it finishes.
2. Look up which wire to check
Refer to the table below for the wire connector you should check on your Nest thermostat. For instance, if your thermostat shows you an E57 code, you need to check the Y2 wire.
|
Help Code |
Wire you need to check |
|---|---|
|
E52, E102 or E182 |
W1 |
|
E53, E103 or E183 |
Y1 |
|
E54, E104 or E184 |
G |
|
E55 or E105 |
O/B |
|
E56 or E106 |
W2/Aux |
|
E57 or E107 |
Y2 |
|
E58, E108 or E188 |
* or */OB |
3. Check your thermostat's wiring
Important: Be sure to turn off power to your system at the breaker, fuse box, or system switch to protect yourself and help prevent damage to your system.
- Pull off your Nest thermostat’s display so you can check the wire in the connector you got from the table above.
- Check that there is only one wire in the connector (no jumper wires or other wires).
- Make sure that the right wire is in the connector. Use one of the following two things to check against:
- The wiring diagram the Nest app gave you during setup
- The wiring diagram you got from our online compatibility checker
- Move the wires to different connectors to match the wiring diagram. If you need to move wires, your thermostat may ask you a few questions.
Important: If you have wires in the Rc and Rh connectors, double check that they weren’t accidentally switched during installation. Swap them if they were.
If you don’t have a thermostat wiring diagram
- Use the picture of your old thermostat wires that you were instructed to take by the app during setup, and enter them into our online compatibility checker.
- If you didn’t take a picture of your old thermostat wires or can’t find it, follow these instructions to take a picture of your system’s wires on the control board. Then enter the wires into our online compatibility checker to get a wiring diagram.
4. Contact a pro to service your system
If the thermostat wiring is correct, the cause is likely a problem with a damaged relay or transformer on your system’s control board, not your Nest thermostat. Contact a local HVAC professional to service your system.
Help your pro find and fix the problem
You should give your HVAC pro the information below so they can troubleshoot more effectively:
- Which wire is the cause of the problem (check for the help codes and their related wires in Step 2).
- Let them know if there were any recent repairs to your system (did a code pop up soon after service?). It’s possible that something wasn’t connected properly or came loose.
- The Nest thermostat senses very fast and small voltage changes (multiple per second). If they check the wire with a handheld multimeter, it probably won’t show any power spikes.
- Ask them to check and replace the relay of the wire that gave you the code.
- Also, ask them to check the transformers on the system board. They should replace any that are worn or damaged.
Note: If the HVAC pro can’t find any worn parts or wire issues with your system, in some rare cases, recent issues with your home’s electrical system, or upgrades made to it could have caused an overcurrent code.
5. You may have an incompatible system
Some systems that are working normally deliver electrical current to the thermostat wires in an unconventional way. This causes your Nest thermostat’s internal breaker to continually trip to protect itself against damage from too much voltage. If this is the case, your system isn’t Nest compatible and you should reinstall your old thermostat.